Help Your Parents Stay Safe and Independent With These Accessible Home Modifications
Key Takeaways
- You don’t need to remodel the whole house to make it safer for aging loved ones.
- Most accessible home modifications cost under $100 and can be installed in under an hour.
- Bathroom and lighting changes often deliver the biggest safety improvements.
- Grab bars, motion-sensor lights, and removing clutter go further than people expect.
- Seniors living alone often downplay risks. Families shouldn’t.
- There are free and low-income programs that can help with costs.
- Safety upgrades reduce fall risks, help seniors stay independent, and lower caregiver stress.
- Experts recommend starting with bathrooms, entrances, and walkways first.
This post contains affiliate links. If you purchase through these links, I may earn a small commission at no additional cost to you. Your support helps keep this site running—thank you!
Why Accessible Home Modifications Matter for Aging at Home
Your mom, dad, aunt, or grandpa wants to stay in their house. Not a retirement home. Not a facility. Not a place where someone knocks on the door every 15 minutes to check on them.
They want home. And you get that. You want it for them too. But… what if it’s not safe? Think to yourself, what’s the ‘worst’ that could happen? It’s not an easy thing to think about, but it is something you MUST consider for your loved ones.
This is where accessible home modifications come in. These aren’t full-blown renovations or five-figure projects. We’re talking about easy changes that make a massive difference. The kind of stuff you might not even think about until something scary happens—like a fall, or a slip in the shower, or someone not being able to get to the phone because the hallway was too dark.
Let’s stop waiting for something to happen.
A lot of older folks say they’re “fine.” They don’t want to be a burden. But the truth? Just because someone can do something doesn’t mean they should. These small changes aren’t about giving up independence. They’re about keeping it.
Here’s what you can actually do today—without draining the bank account or hiring a crew. Each section below breaks down what works, what it costs, and why it matters. Let’s start with the room that causes the most injuries.
Budget-Friendly Bathroom Upgrades That Prevent Falls
The bathroom is a slippery little war zone for older adults. Tile floors. Wet feet. Awkward bending. Zero support. You don’t need to gut it, though. These fixes work fast:
Must-Have Bathroom Fixes:
| Modification | Why It Helps | Approx. Cost |
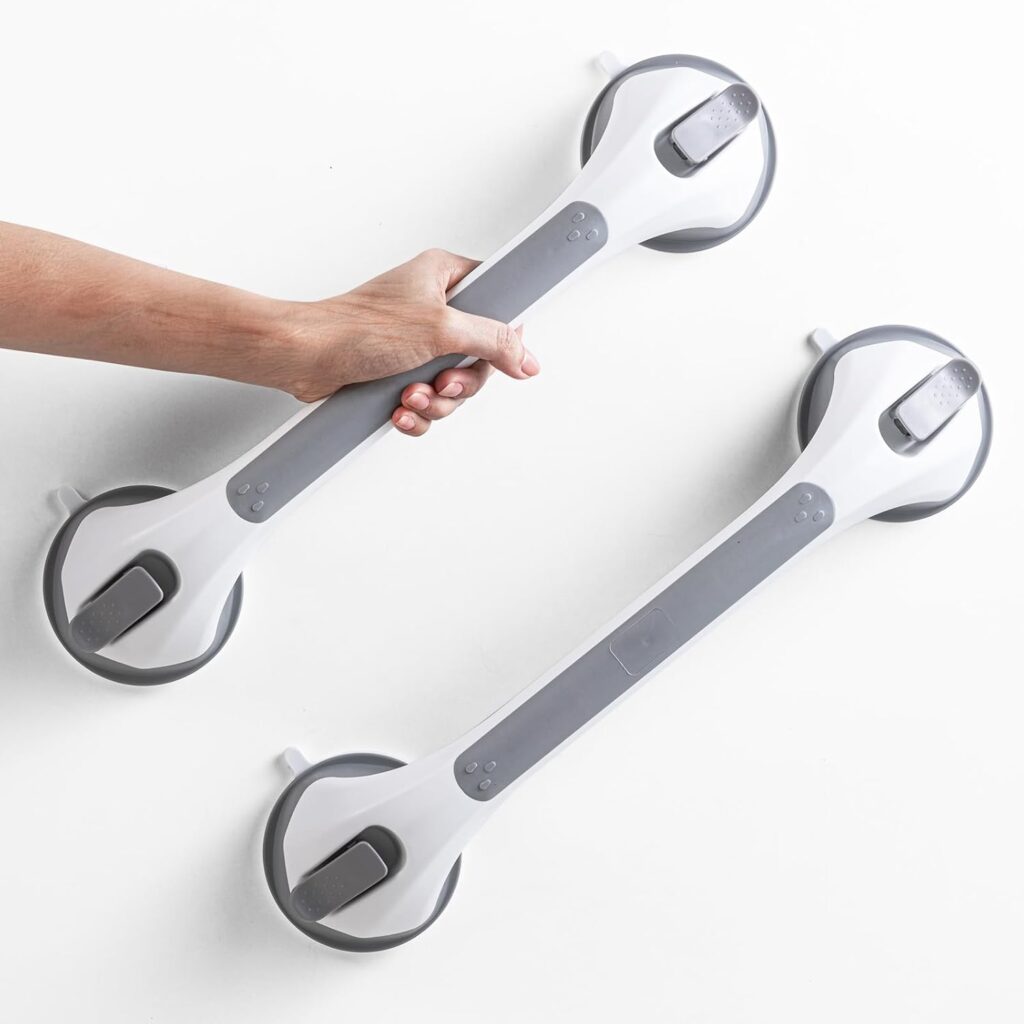
| Grab bars | Support for sitting, standing, and balancing | $20–$40 ea |
| Raised toilet seat | Reduces strain on knees and hips | $25–$50 |
| Non-slip bath mat | Prevents slips in and outside of tub | $10–$30 |
| Handheld shower head | Makes it easier to sit while showering | $25–$40 |
Grab bars aren’t optional. If there’s one upgrade to start with, it’s these. Put one next to the toilet. One inside the tub or shower. One near the bathroom door if it helps. Don’t use towel bars—those rip out.
Raised toilet seats help more than people think. Older adults often strain when standing or sitting, especially if they’ve got arthritis or balance issues.
And those rubber bath mats? Don’t assume every mat is non-slip. Check the bottom. And replace them regularly—they wear out fast.
Got a detachable showerhead? Probably not. Install one. Letting someone shower while sitting down makes the whole process safer and less exhausting.
-Tip: Most of these fixes install without needing a plumber or handyman. Grab bars? Get the kind that screw in—don’t trust suction ones unless they’re just a backup.
Lighting Fixes That Make Every Step Safer
Ever stub your toe in the dark and curse under your breath? Now imagine you’re 83 with shaky knees, a walker, and a hallway that goes dark after sunset. That’s not just annoying. It’s dangerous.
Bad lighting is one of the sneakiest risks in the house. Most people don’t even think about it—until someone falls trying to find the bathroom at 3AM.
So, what fixes actually work? And which ones are cheap, fast, and don’t require rewiring the house? Here are some ‘easy wins’, when it comes to lighting for accessible home modifications.
Smart, Simple Lighting Upgrades
Let’s go through these one by one.
Motion Sensor Lights
You walk, they light up. No switches. No fumbling. Just bright light where and when it’s needed.
- Stick one by the front door
- Put one in the hallway to the bathroom
- Mount one outside the garage or back porch
Battery-powered motion lights are under $20 and take five minutes to install. You don’t need an electrician. Some have adhesive backs. Others mount with tiny screws. No excuse not to use ’em.
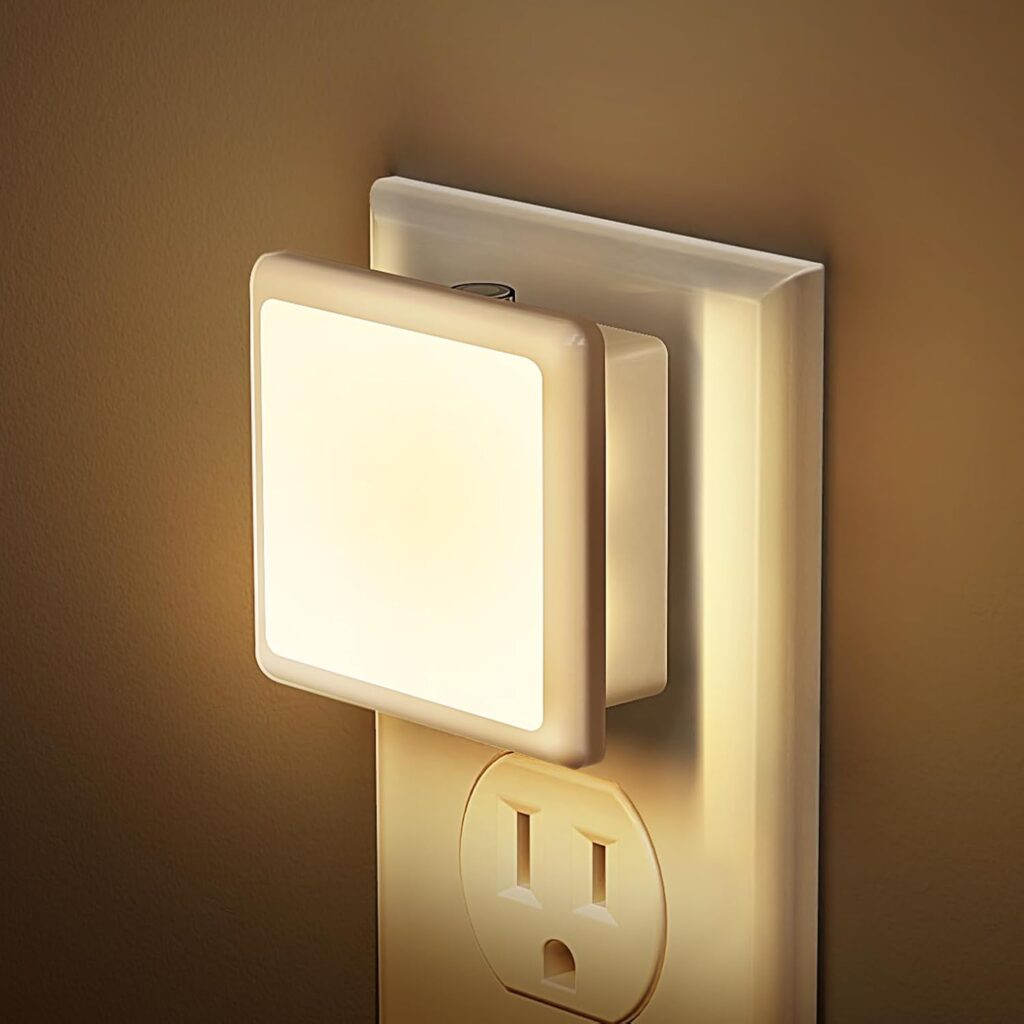
Plug-in Night Lights
The kind your grandma might’ve used still works. But modern ones are smarter. They sense ambient light and turn on automatically when the room gets dark. No wasted energy.
- Plug one in at the base of stairs
- Another near the bed
- One in the bathroom
You’re looking at $10 for a 2-pack. And they last forever. No one’s tripping over slippers or corners anymore.
Under-Cabinet or Closet Lighting
Not being able to see the coffee filter in a dim kitchen might not seem like a hazard. Until someone reaches too far and tips the coffee maker over.
Install peel-and-stick LED strips under cabinets, shelves, or inside closets. They’re cheap, rechargeable, and super bright.
Brighter Bulbs, Better Placement
Sometimes it’s not that there’s no light. It’s just… not enough.
Replace dull, yellowish bulbs with 100-watt equivalent LEDs. Go daylight white, not soft white. If there’s a dark hallway or corner, install a cheap floor lamp or clip light. You’d be amazed what $15 can fix.
Real Talk: Lighting Can Save a Life
One misplaced foot in the dark can send someone tumbling. A $15 motion light can prevent a trip to the ER. Seriously.
These lighting upgrades should be at the top of your accessible home modifications checklist. Not just because they’re cheap—but because they cover high-traffic zones without being obtrusive. They just… work.
Alright. Bathroom’s safer. The house is lit. But what about the stuff people touch every day? Doors. Faucets. Steps. Let’s talk a little about that…
Simple Mobility and Accessibility Aids That Make a Big Difference
Here’s the thing most people don’t think about: doors, faucets, stairs—these everyday things can be complete obstacles when your body starts betraying you. And no, it doesn’t matter if they “still seem fine.” The truth is, small barriers add up fast. Over time, they turn independence into frustration.
Luckily, there are some weirdly simple, low-cost ways to make the whole house easier to move through. No remodeling. No permits. Just a little tweaking.
This section covers a few of the most bang-for-your-buck accessible home modifications when it comes to mobility and daily tasks.
Lever-Style Handles
You ever try turning a round doorknob with sore hands or weak grip? Try it with a wet towel wrapped around your hand. That’s arthritis for a lotta folks.
Swapping round knobs for lever handles—on doors and sinks—is a game-changer.
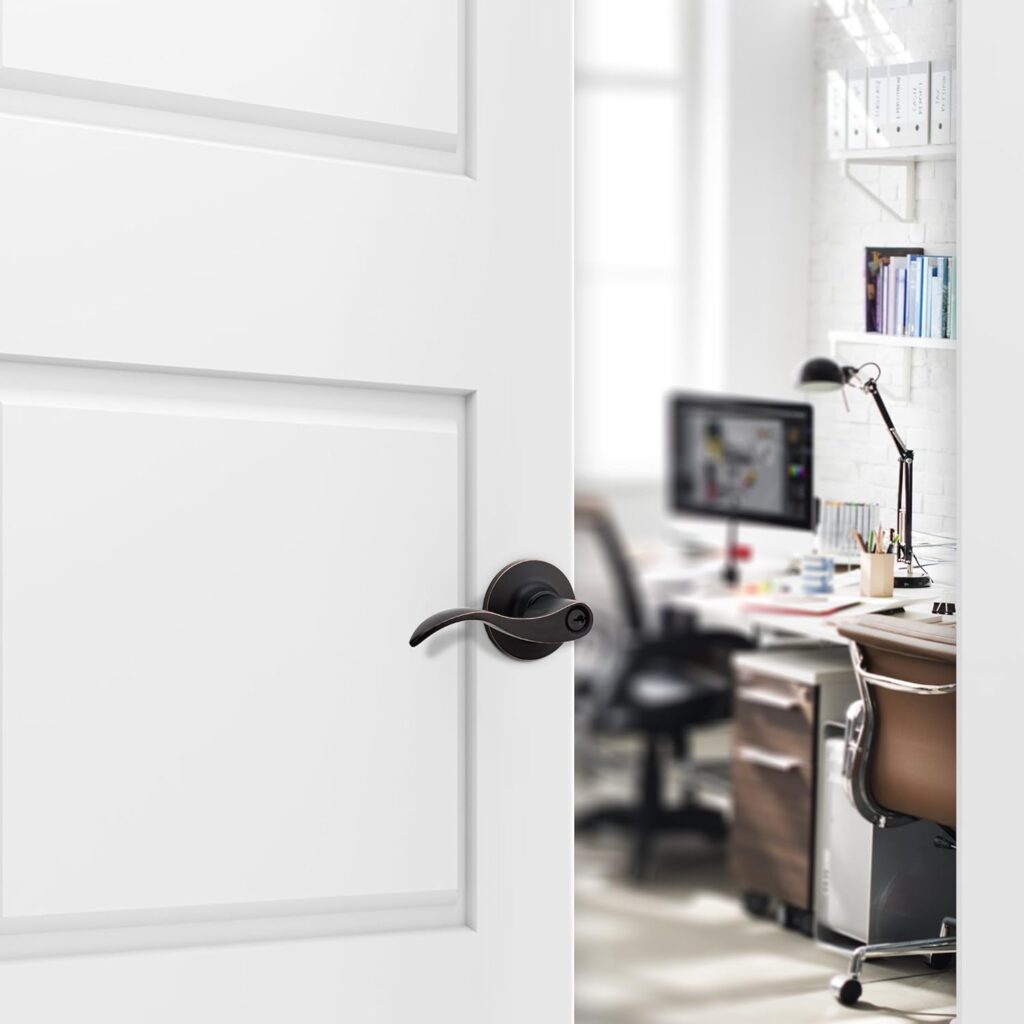
- No twisting needed
- Easier to use with elbows if hands are full
- Some are under $10 a piece
- No plumber needed for faucet ones (usually)
Quick install. Huge payoff.
Portable Threshold Ramps
You know that tiny 2-inch lip at the front door? The one no one noticed until someone tripped over it carrying groceries? That’s a mobility nightmare.
Threshold ramps fix that. They smooth over raised doorframes so walkers, canes, or wheels glide through instead of catch. You can get them in aluminum or rubber, cut to size.
- Most cost between $30–$80
- No tools needed—just drop into place
- Indoor and outdoor use
Bonus? They also help delivery drivers and guests who hate stubbed toes.
Furniture Risers and Lift Cushions
Getting up from a deep, low couch can feel like trying to squat a car. You see people rock back and forth to build momentum—that’s a warning sign.
Risers or lift cushions make sitting and standing safer:
- Risers go under chair or bed legs (usually $20–$40 per set)
- Foam lift cushions work for couches or recliners
- Electric seat lifts are pricier, but still way cheaper than new furniture
The goal isn’t luxury. It’s practicality. If someone hesitates before standing up, there’s a fix for that—and it doesn’t need to be fancy.
Handrails on Both Sides of Stairs
Quick quiz: does your house have a handrail on just one side of the stairs?
Most do. But for someone unsteady on their feet, one rail isn’t enough. They need support on both sides, especially when going down.
You can pick up a second railing kit for under $50 and install it yourself (or with a neighbor’s help). It’s basic hardware, and it doubles stability instantly.
Summary Table – Simple Mobility Modifications
| Modification | What It Solves | Avg. Cost |
| Lever-style door handles | Reduces strain, improves grip | $10–$20 ea |
| Threshold ramps | Prevents tripping, helps with mobility aids | $30–$80 |
| Chair/bed risers | Eases standing up, less strain on joints | $20–$40/set |
| Lift cushions | Safer seating and standing on couches | $30–$100 |
| Extra stair rail | Doubles support on stairs | ~$50 |
These are the kind of fixes that look like nothing until someone falls—then they look like genius.
This is also where pride sneaks in. Older adults often won’t say when they’re struggling with stairs or getting off the couch. These upgrades keep dignity intact by solving problems quietly, before they become crises.
Easy Security Upgrades for Elder Peace of Mind
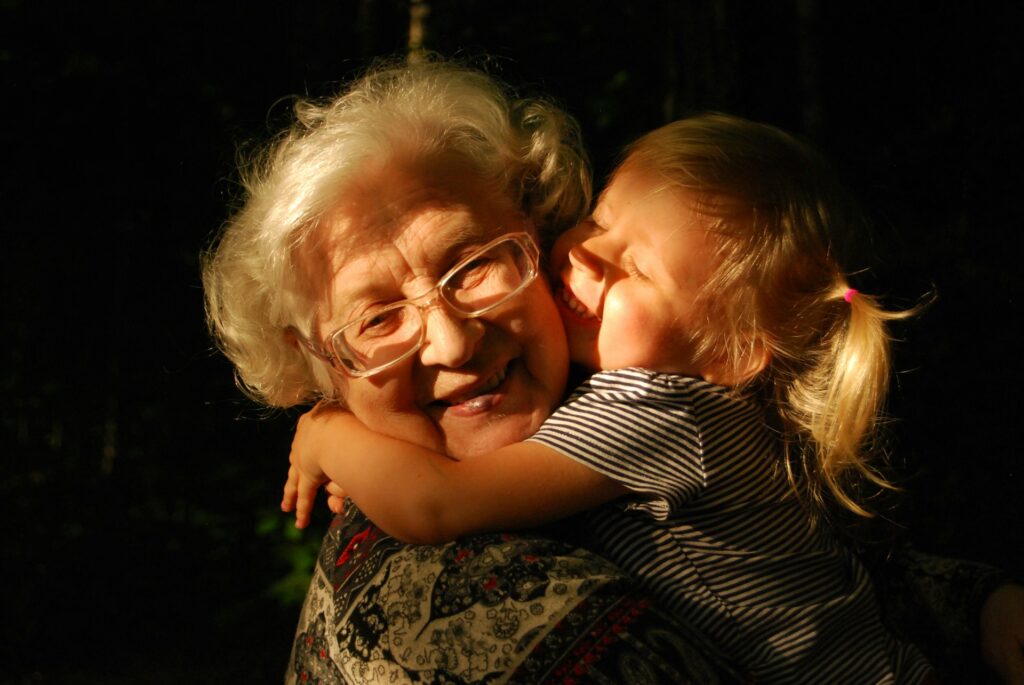
Alright, let’s talk about the stuff that keeps you up at night.
Is the door locked? What if someone knocks and Grandma opens it without checking? What if she forgets to turn on the porch light? What if she doesn’t hear someone at all?
You can do everything right inside the house—but if someone doesn’t feel safe outside the house, they’re still at risk. The good news is, you don’t need a full-blown security system to make real changes. A few smart upgrades make a huge difference—without a subscription fee or a phone app they’ll never use.
This is where accessible home modifications meet peace of mind—for everyone involved.
Automatic Light Timers
Older adults don’t always remember to turn lights on when they leave—or off when they come back. That makes the house look empty, and it wastes electricity.
Plug-in light timers fix that instantly.
- Set lights to turn on at dusk, off at bedtime
- Makes it look like someone’s home
- Reduces fall risk walking into a dark house
- No tech skills required—just turn the dial
They’re like $10 at any hardware store. One in the living room. One in the bedroom. Done.
Solar Motion Lights
No wires. No batteries. No excuses.
These lights charge during the day and turn on when they detect movement. That means:
- Bright light near doorways and garages
- Fewer dark corners
- Better visibility at night
You can get two decent solar motion lights for $30. Mount them near entrances or windows. Even just one near the back door can scare off curious critters—or worse.
Also: makes it easier to take out the trash after dinner without a flashlight. Real talk.
Basic Video Doorbells or Cameras
Not every senior wants tech. But if they’re comfortable with it—or you’re managing the home remotely—cheap video doorbells are worth it.
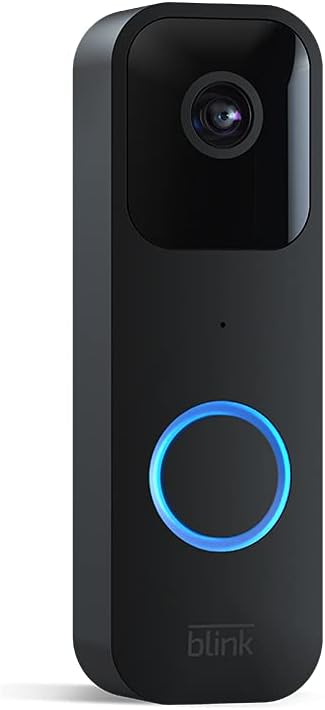
- Lets them see who’s knocking without opening the door
- You (or a caregiver) can check footage remotely
- Records suspicious activity
You can find off-brand versions for under $50. Some don’t even need Wi-Fi to work—they store clips on SD cards.
Again: this isn’t paranoia. It’s prevention. Elderly homeowners are often targeted because people assume they’re vulnerable. These little touches flip that script.
Door Reinforcement Locks
Not glamorous. But super useful.
Add a flip lock or security bar to the inside of the front and back door. They’re cheap (under $20) and add an extra layer of protection beyond a standard deadbolt.
These locks make it harder for someone to push through the door—even if they’ve got a key or try to force it.
Bonus? Easy to install. Just a screwdriver and five minutes of your time.
Security Enhancements Overview
| Upgrade | Benefit | Avg. Cost |
| Light timers | Prevents dark homes, saves electricity | ~$10 ea |
| Solar motion lights | Lights up walkways, deters prowlers | $15–$30 each |
| Basic video doorbell | Monitors front door, adds visibility | $40–$80 |
| Interior door locks | Reinforces doors from inside | $15–$25 |
These aren’t about creating a fortress. They’re about confidence.
Older adults who feel safe are more likely to stay active, answer the door, go outside, sleep better, and rely less on family for small things.
And if you’re the one worrying about them? These upgrades let you sleep easier too.
Decluttering and Organizing for Safety: The Stuff That Trips People Up (Literally)
Let’s be honest. You don’t need a high-tech gadget to make a home safer. Sometimes, you just need to move stuff out of the way.
That’s the part most people ignore. We spend money on grab bars and motion lights (which, yes, are awesome), but we forget that a badly placed rug or a low shelf full of random junk can do just as much damage.
This is the part where accessible home modifications stop being about things you add—and start being about what you remove, rearrange, or re-think.
The Silent Killers: Rugs, Cords, and Clutter
If someone’s using a walker, cane, or has trouble picking up their feet, then:
- Throw rugs become trip wires
- Electrical cords become ankle snares
- Cluttered hallways turn into obstacle courses
It’s not dramatic—it’s reality.
Here’s what to do:
- Roll up every throw rug and ask: Does this actually need to be here?
- Use cord covers or cable clips to pin down wires along the wall
- Walk through hallways with arms slightly out and a slight shuffle—does anything hit your arm or feet? That’s a problem.
Reorganizing Essentials
Older adults often keep things where they’ve always been. That might mean:
- Heavy pots on low shelves
- Daily meds on top of the fridge
- Important mail in a drawer they can’t bend to reach
The fix is simple:
- Move the most-used items to waist height
- Put a small rolling cart or shelf in key rooms—kitchen, bedroom, bathroom
- Use open-top baskets for things like medication, bills, remote controls
No fancy design needed. Just ask, What do they use every day? Then make it ridiculously easy to get to.
Rearranging Furniture (Yes, Really)
Here’s a fun challenge: try walking from the front door to the kitchen with your arms out, slightly bent at the elbows.
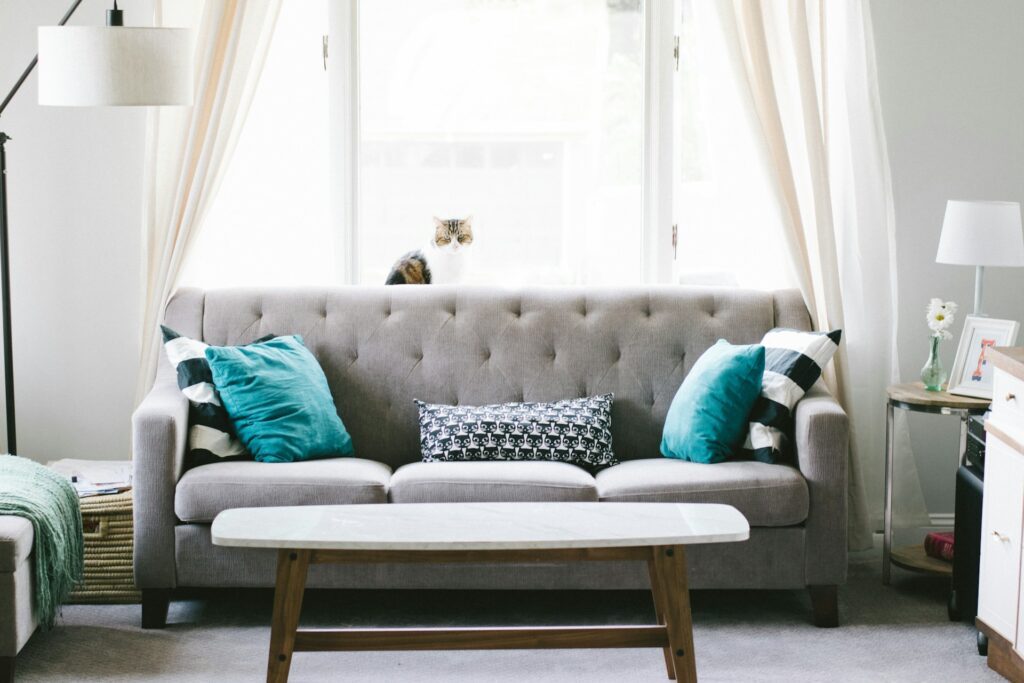
If you bump anything, something needs to move.
Wide, open walkways reduce falls. Period. That might mean:
- Scooting the couch a few inches
- Moving that side table no one actually uses
- Replacing bulky chairs with lighter ones that are easier to move
Also: if there’s furniture with sharp corners, it’s time for corner bumpers. You can get them in beige, brown, or clear. They’re like $8 for a pack.
High-Risk Clutter Zones
| Zone | Common Hazards | What To Fix |
| Hallways | Boxes, shoes, baskets | Clear it all. Leave 36” minimum width. |
| Kitchen | Overhead or low storage | Move key items to mid-shelves |
| Living Room | Throw rugs, cords, narrow paths | Remove, secure, or widen space |
| Bedroom | Crowded bedside tables, low lights | Add light, remove clutter |
| Bathroom | Small shelves, laundry bins | Wall-mount items, leave floor clear |
Pro Tip: Do a Walkthrough With Someone Else
You’re used to your space. You stop noticing the mess.
Bring a friend or family member over and walk them through the home. Ask what they notice. Or better yet, have someone unfamiliar walk through while pretending to use a walker.
You’ll see all the invisible danger zones, clear as day.
Decluttering and organizing doesn’t sound exciting. But these changes matter—a lot. Most falls happen not because of big hazards, but from small, dumb stuff that nobody bothered to fix.
How to Prioritize and Plan for Accessible Home Modifications
So now you’re staring at a mental checklist, right? You’ve got ideas, fixes, stuff to buy, probably a dozen browser tabs open. Maybe you’re overwhelmed. Fair. Most people are.
Thing is, you don’t have to do everything at once. In fact, you shouldn’t.
Start where the biggest risks live. Then work your way out. Keep it simple, focused, and practical. This section is about how to think through your plan like a pro—without getting lost in the weeds.
Step 1: Walk Through the House Like You’ve Never Seen It Before
Sounds weird, but it works.
- Enter the house as if you’ve never been in it
- Look for tripping spots, tight corners, dark zones, awkward knobs
- Sit in every chair and try to get up without using your hands
- Ask: “What would trip me up if I was 85 and tired?”
Even better—have your aging parent or loved one walk the house with you. Ask them to show you what feels annoying or hard.
Step 2: Triage the Risky Zones
Don’t just start grabbing stuff off Amazon. Focus on the most-used areas first.
Here’s a smart order:
- Bathroom – where most in-home injuries happen
- Stairways / Entry Points – falls often happen at thresholds
- Hallways / Lighting – low visibility = high danger
- Kitchen – lots of reaching, bending, heat
- Bedroom – nighttime movement is common, often overlooked
If the bathroom’s unsafe, fix that before worrying about outdoor lighting. If someone struggles getting up the porch stairs, don’t start by replacing door handles. Prioritize based on how often and how risky.
Step 3: Set a Budget—Then Slash It in Half
You probably don’t need to spend what you think.
A ton of accessible home modifications can be done for under $50 each. You’re not building a new wing of the house. You’re solving problems.
Here’s what $200 can actually get you:
| Item | Avg. Cost |
| Grab bar (x2) | $40 |
| Raised toilet seat | $30 |
| Motion night lights (x3) | $30 |
| Furniture risers | $25 |
| Threshold ramp | $50 |
| Cord covers | $10 |
| Total | ~$185 |
If you’ve got a bigger budget, great—there’s more you can do. But don’t wait for the “perfect” moment. Start where you can.
Step 4: Look for Free or Low-Cost Help
Most cities, states, and nonprofits have programs that help older adults stay at home safely. Some will install grab bars for free. Others will give you ramps or lighting kits.
Try these options:
- Local Area Agency on Aging (AAA)
- Church or community volunteer groups
- Veterans Affairs (for veterans and spouses)
- Medicaid waiver programs
- Independent living centers (often have free home audits)
Also: don’t forget about family or neighbors. You’d be surprised how many people are happy to lend a drill and a Saturday.
Step 5: Keep Track—Seriously
Use a notebook, spreadsheet, checklist—whatever works. Track what’s been fixed, what needs to be done, and what’s giving you trouble.
Include:
- Date of each change
- Product used (and cost)
- Who installed it
- Any issues afterward
It keeps you organized. And if multiple people are helping, it prevents things from slipping through the cracks.
One Last Thing: Involve the Person Living There
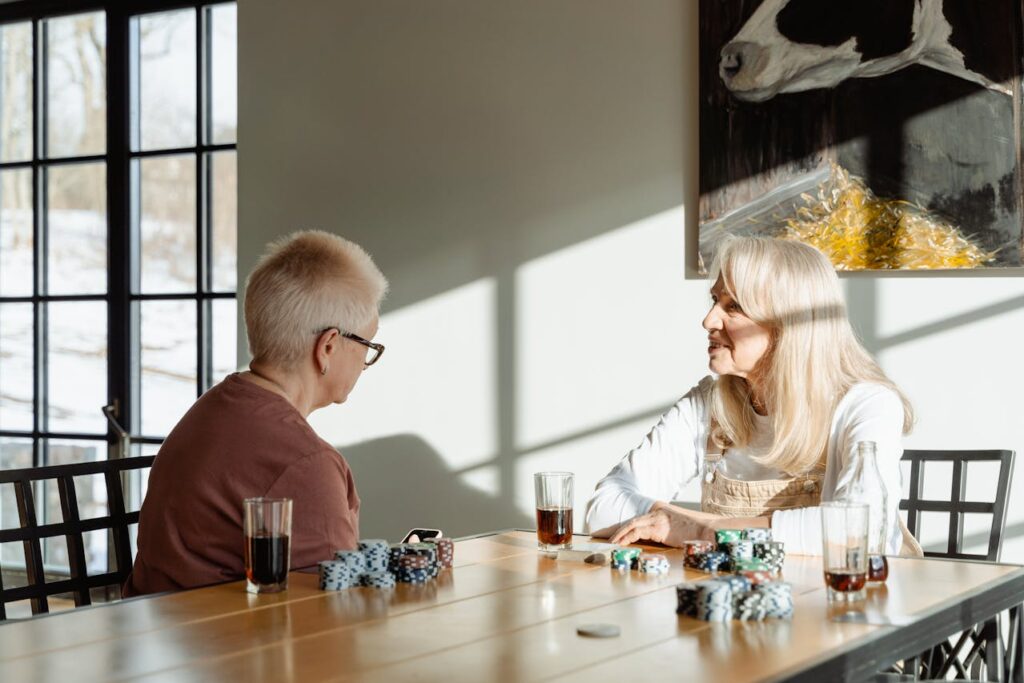
This sounds obvious, but a lot of folks skip it.
If your mom hates that new motion light because it blinds her when she gets up at 2am… that’s not a win. If your dad won’t use the shower seat because it “feels weird,” you wasted $40.
Ask them:
- “What’s hard around the house lately?”
- “Would you feel better with more light here?”
- “How do you feel about changing this?”
When they help shape the plan, they’re more likely to accept—and actually use—the upgrades.
Final Thoughts + Frequently Asked Questions
So. We’ve talked about the bathroom, the lights, the front door, the cords, the clutter. We’ve covered confidence, safety, independence, and how all these things are tied together in ways no one talks about until after something bad happens.
If you’re here reading this, chances are you’ve already felt that low-key anxiety. That voice that says, “The house isn’t built for this stage of life.”
You’re right.
But you don’t need a full remodel. You don’t need $10,000. You don’t need a contractor, a permit, or a crew of people tearing up the floor.
You just need to start—right now—with small, smart, accessible home modifications that keep your people safe and independent. That’s it.
There’s no blueprint for aging in place. But there are tools. There’s strategy. And most of all, there’s care. That part? You’ve already got covered.
Frequently Asked Questions
What’s the first thing I should do?
Walk through the house like it’s unfamiliar. Look for the obvious hazards: slippery rugs, poor lighting, cluttered walkways, wobbly furniture. The bathroom is the most dangerous place—start there.
How much do these modifications usually cost?
Most basic fixes cost between $10 and $50 each. You can make a big difference with $200–$300 total. Some states or cities offer grants or support programs for older adults, so check with your local Area Agency on Aging.
Are suction-cup grab bars safe?
Short answer: No. Suction bars can help as a backup or travel option, but they’re not stable enough for long-term daily use. Use wall-mounted bars with screws and anchors. They’re cheap and easy to install.
What can I do if I live far away from my parent?
You can still help:
- Send them motion lights, raised toilet seats, or reach tools
- Hire a local handyman to install grab bars
- Get video doorbells you can monitor remotely
- Coordinate with neighbors or local nonprofits for in-home help
Is there a checklist I can use?
Yes. Here’s a basic starter list:
- [ ] Grab bars in bathroom
- [ ] Non-slip mat in shower
- [ ] Motion nightlights in hallways
- [ ] Raised toilet seat
- [ ] Clutter cleared from walkways
- [ ] Lever-style door handles
- [ ] Threshold ramp if needed
- [ ] Automatic light timers
- [ ] Reorganized essential items at waist height
Are these changes permanent?
Not necessarily. Most are non-invasive and reversible. Grab bars, risers, and motion lights can be removed. Even door handle changes can be swapped back if needed. But once they’re in, most folks wonder how they lived without them.
Do these changes affect home value?
If anything, they increase the home’s appeal for aging buyers or families with mobility needs. And again, most of these aren’t permanent structural changes—they’re flexible, functional, and easy to update.
What if my parent refuses to make changes?
This is common. Pride gets in the way. Start small. Phrase it in terms of ease, not need.
- “This makes things more comfortable.”
- “I saw this and thought it might save you some effort.”
- “Humor me. Let’s try it for a week.”
Sometimes it’s about planting the idea and waiting. But don’t let the fear of offending stop you from having the conversation.
Final Word?
Your home should change as you do. Aging isn’t a crisis. But pretending nothing’s different? That’s where the risk lives.These low-cost, accessible home modifications aren’t about wrapping your loved one in bubble wrap. They’re about giving them the tools to live how they want to live—safely, confidently, and with less stress for everyone involved.

